This article will explain how to integrate swagger (Open API) with Node & express. Swagger makes it very easy for a backend developer to document, test, and explain API endpoints he/she's been working on a front-end developer or anyone looking to consume those endpoints.
Setup
Before we get started into this we should have few things installed in our machine.
Visual Studio Code -> Visual Studio Code
Node.js -> Node.js
Source Code - Git Code
Required Packages
npm init
npm install swagger-jsdoc swagger-ui-express express nodemon
Express - For Server
Swagger - For API's Documentation in UI
Nodemon - will use this to restart our server automatically whenever we make changes to our files.
After installing the required packages let's add the new file to set up the Swagger configuration and as well adding the API endpoints in Node
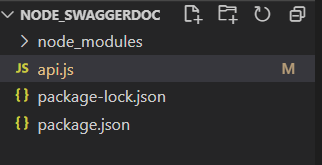
Structure of the Project
Setting up the swagger
Swagger UI can be set up for both the front end & backend as well. Since this article is about the Swagger with Node.js. I will be setting up the the swagger in Node.js express app only. you can explore the other options here
In your api.js
//Swagger Configuration
const swaggerOptions = {
swaggerDefinition: {
info: {
title:'Employee API',
version:'1.0.0'
}
},
apis:['api.js'],
}
const swaggerDocs = swaggerJSDoc(swaggerOptions);
app.use('/api-docs',swaggerUI.serve,swaggerUI.setup(swaggerDocs));
After integrating the swagger setup lets define the swagger endpoint with description and response codes in a particular format so that we can able to access those API's inside the swagger after running in the browser
Add Swagger Before Each End Point
/**
* @swagger
* /Employees:
* get:
* description: Get all Employee
* responses:
* 200:
* description: Success
*
*/
app.get('/Employees',(req,res)=>{
res.send([
{
id:1, Name:'Jk'
},
{
id:2,Name:'Jay'
}
])
});
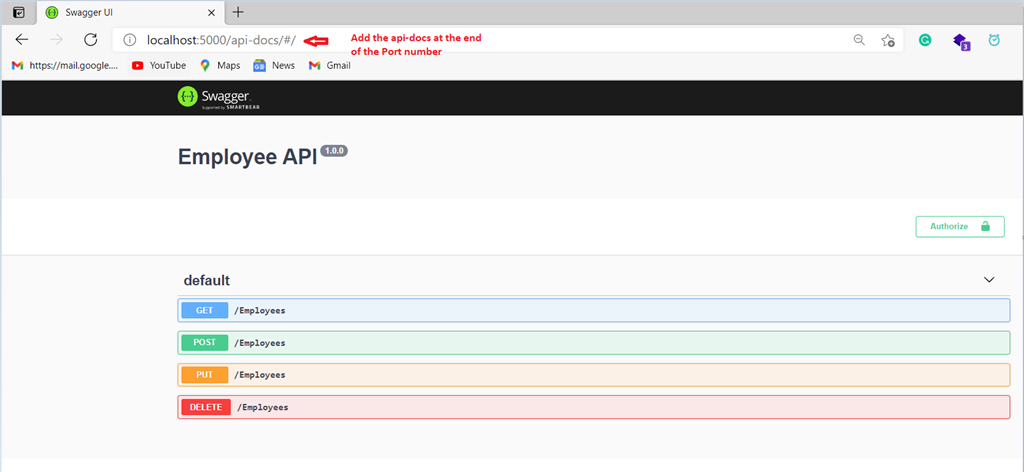
For the demo purpose, I have added four API's (Get, Post, Put, Delete) added the swagger setup for the remaining endpoints as well
Final api.js
const express = require('express');
const swaggerJSDoc = require('swagger-jsdoc');
const swaggerUI = require('swagger-ui-express');
const app = express();
app.listen(5000,()=>console.log("listening on 5000"));
//Swagger Configuration
const swaggerOptions = {
swaggerDefinition: {
info: {
title:'Employee API',
version:'1.0.0'
}
},
apis:['api.js'],
}
const swaggerDocs = swaggerJSDoc(swaggerOptions);
app.use('/api-docs',swaggerUI.serve,swaggerUI.setup(swaggerDocs));
/**
* @swagger
* /Employees:
* get:
* description: Get all Employee
* responses:
* 200:
* description: Success
*
*/
app.get('/Employees',(req,res)=>{
res.send([
{
id:1, Name:'Jk'
},
{
id:2,Name:'Jay'
}
])
});
/**
* @swagger
* /Employees:
* post:
* description: Create an Employee
* parameters:
* - name: EmployeeName
* description: Create an new employee
* in: formData
* required: true
* type: String
* responses:
* 201:
* description: Created
*
*/
app.post('/Employees',(req,res)=>{
res.status(201).send();
});
/**
* @swagger
* /Employees:
* put:
* description: Create an Employee
* parameters:
* - name: EmployeeName
* description: Create an new employee
* in: formData
* required: true
* type: String
* responses:
* 201:
* description: Created
*
*/
app.put('/Employees',(req,res)=>{
res.status(201).send();
});
/**
* @swagger
* /Employees:
* delete:
* description: Create an Employee
* parameters:
* - name: EmployeeName
* description: Create an new employee
* in: formData
* required: true
* type: String
* responses:
* 201:
* description: Created
*
*/
app.delete('/Employees',(req,res)=>{
res.status(201).send();
});
Run the URL in the browser
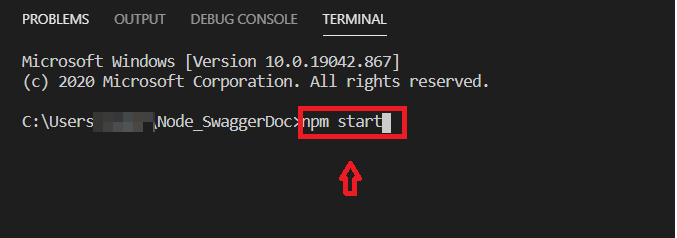
Now you can do the npm start in the terminal to your app and it will navigate to the browser we have to add the /api-docs at the end of the URL so that i will navigate to the swagger which we have configured and you will see the Swagger UI based on your generated swagger.json.
Terminal
Swagger
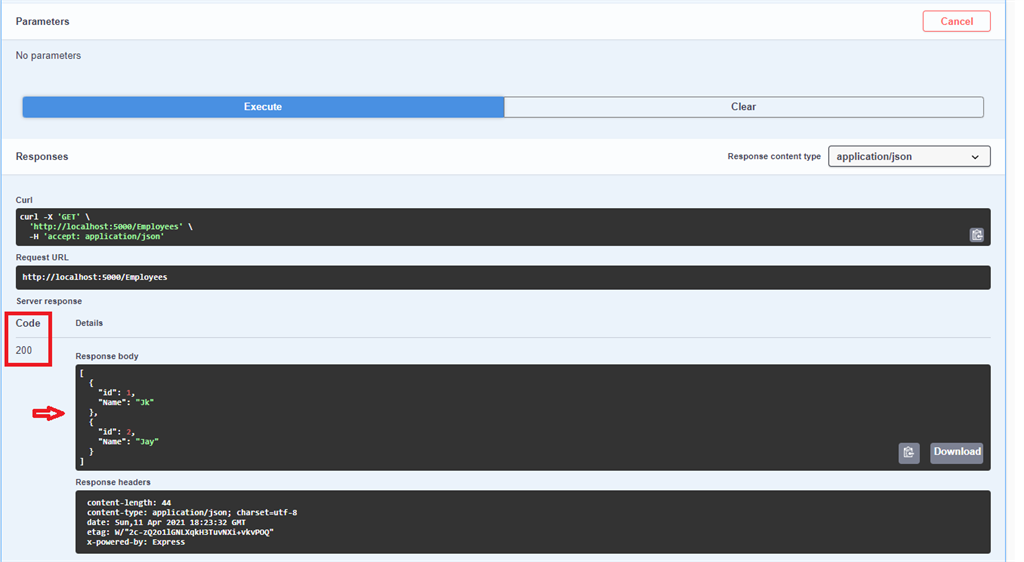
Testing the API with Swagger