A - Introduction
We need to realize that updating Angular CLI for environment, or say, globally, and for a specific project or application, or say locally are different. We will discuss them in this article respectively.

This is the content of this article:
A - Introduction
B - Update Angular for Environment
C - Angular Global Update will not Affect Individual Project
D - Update Angular for Project
E - Update Angular for Project: Sample
B - Update Angular for Environment
In order to update the angular-cli package installed globally in your system, you need to run:
npm uninstall -g @angular/cli
npm install -g @angular/cli@latest
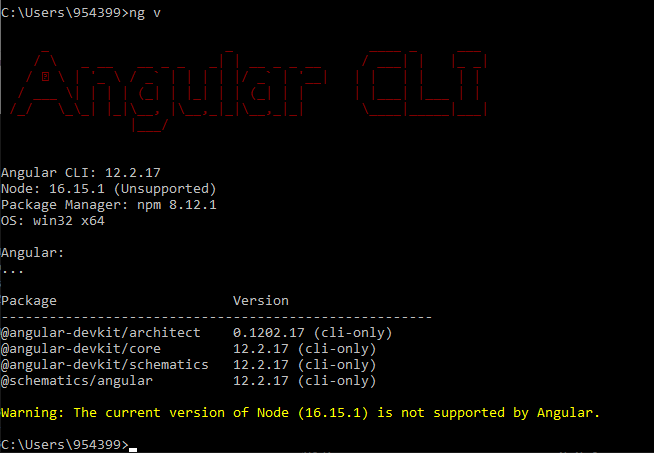
Step 1: Check the Current Version
Open a window console, type command to view the installed Angular version:
ng v
Step 2: Uninstall Angular globally
We see the current installed Angular version is 12.2.17, uninstall the Angular CLI globally by
npm uninstall -g @angular/cli
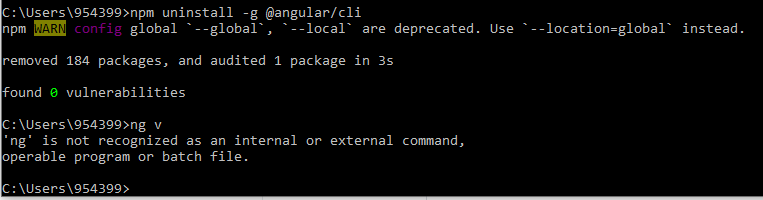
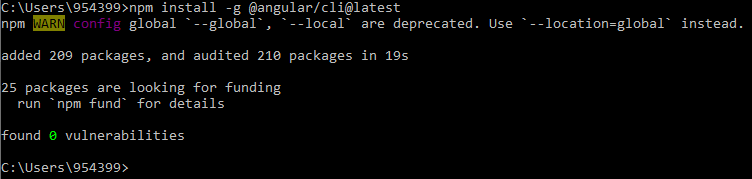
Step 3: Install Angular Globally
After uninstalling, check the angular version again by ng v, You will see the system has not recognized the ng command anymore. Reinstall Angular globally by
npm install -g @angular/cli@latest
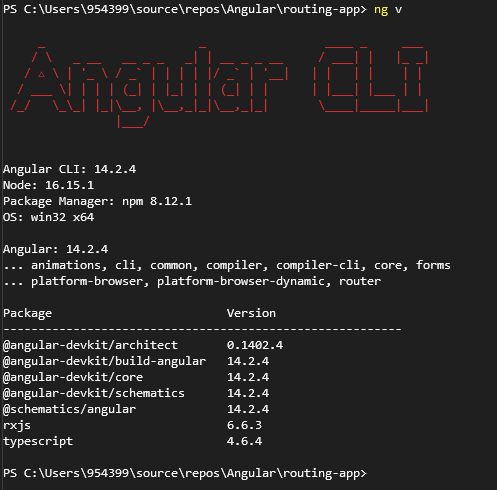
Step 4: Check the Angular version again, by ng v:
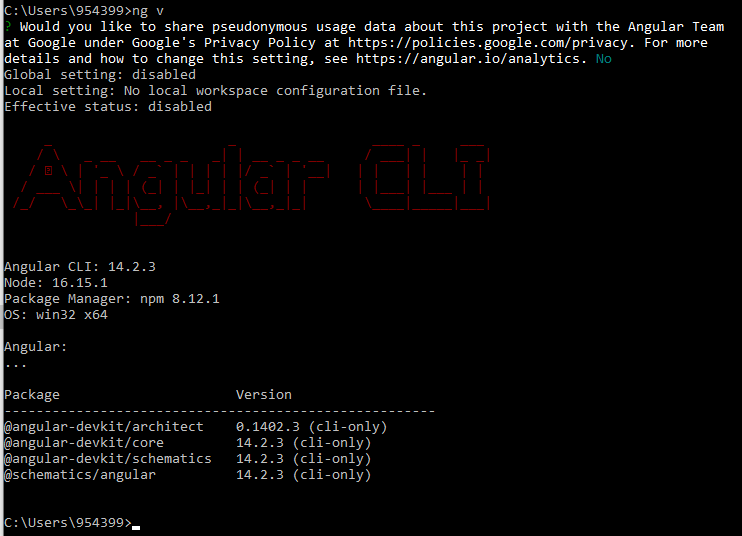
Now, the environment has been updated to Angular V 14.2.3, the current version.
C - Angular Global Update will not Affect Individual Project
However, the global Angular update will not affect project, or local, Angular version. For example, we have a project with version 11.1.2, while the global Angular CLI version is 12.2.0, as shown below, when we run command:
Step 1: Check the current project Angular Version and the Environment Angular Version (global)
Run the version check command in the project folder:
ng v
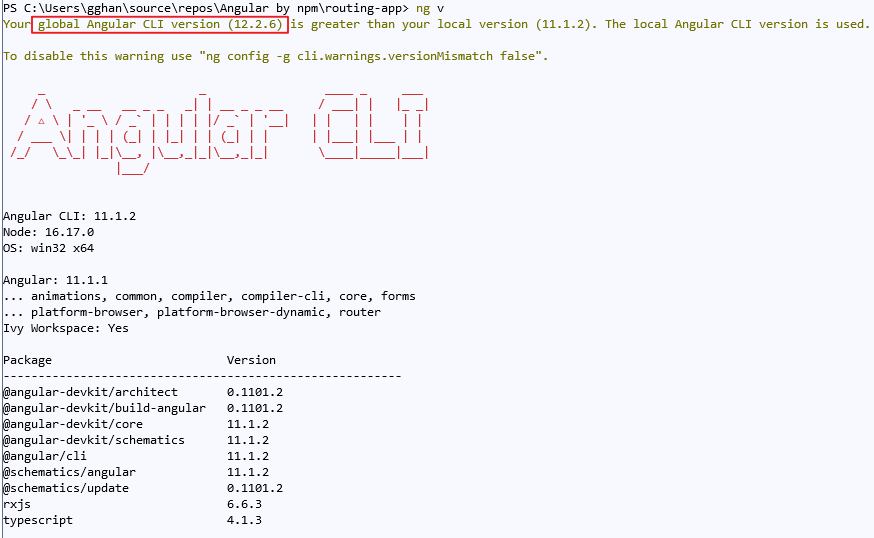
We can see the Angular version for the project is 11.1.2, while the environment, global, is 12.2.6.
Step 2: Uninstall the current Angular Version
npm uninstall -g @angular/cli

Angular is uninstalled globally, when we run the command ng v to check Angular version, the ng command is not recognized:

The local version in the project is uninstalled, too:
 \
\
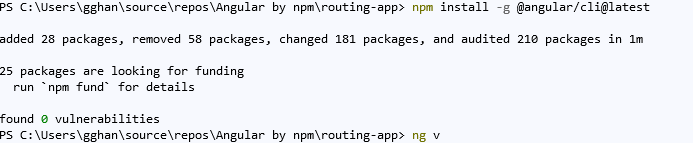
Step 3: Reinstall Angular Globally
We run the global update command from this project folder:
npm install -g @angular/cli@latest
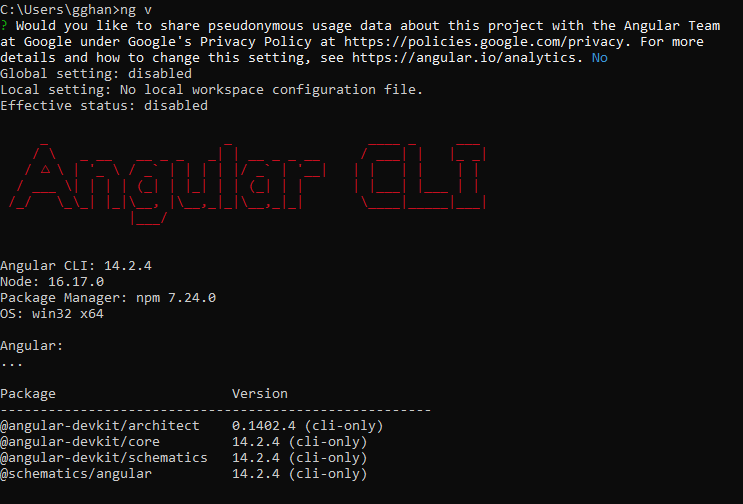
Step 4: Check Angular version
Outside of the project, we have the global version as 14.2.4:
while the local version is still kept the same as version 11.1.2
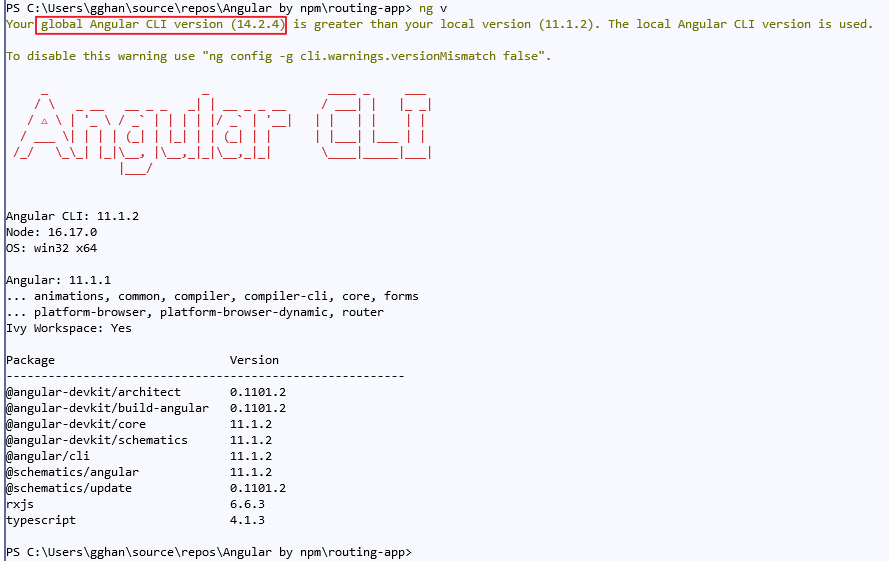
i.e., the uninstall/install command does not work for an existing Angular Project
D - Update Angular for Project
For Angular project update, we need to use update command, instead of uninstall/install commands:
Get Update from Angular Update Guide
Starting from Angular 6, the process of upgrading or updating the Angular apps to the latest version has become very easy. You can follow this Angular Update Guide step by step:
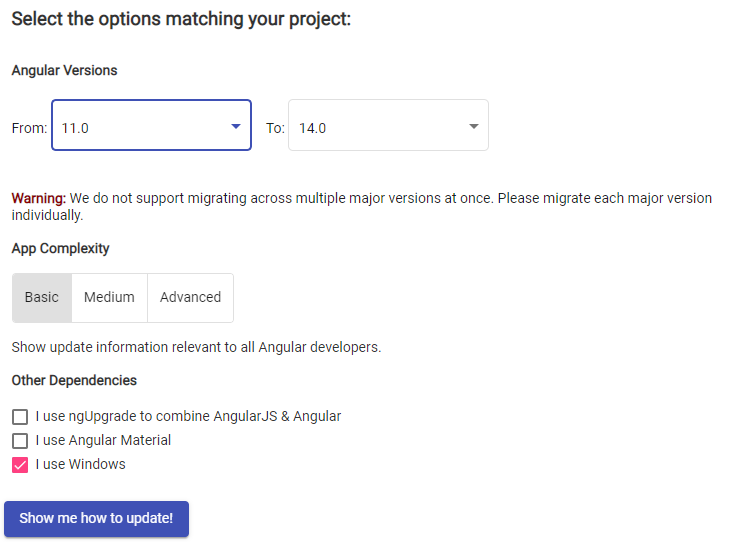
Choose the Current version Angular and the version you wish to upgrade
Select the App Complexity as Advanced
Choose other dependencies
Choose your package manager
Click on Show me how to update
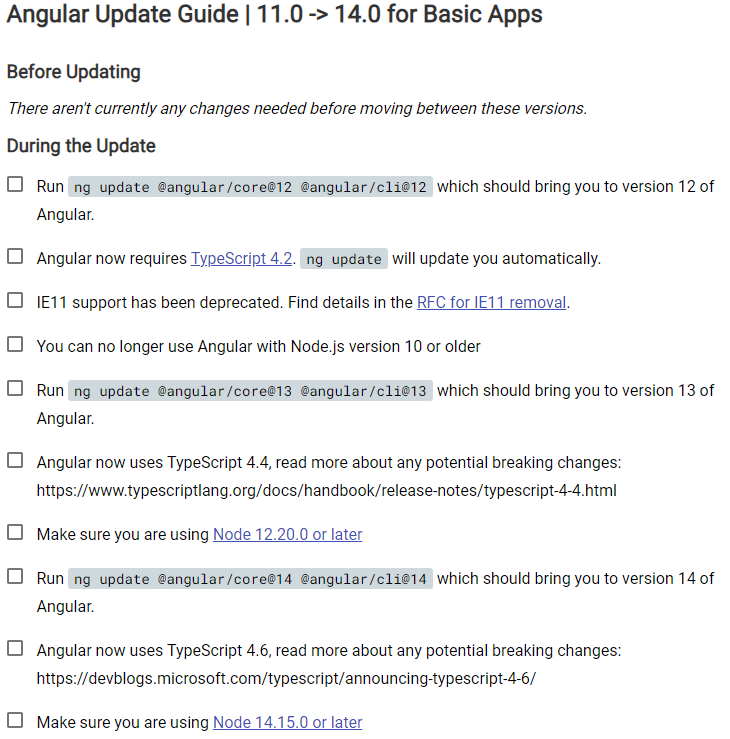
The above gives the detailed steps needed to update Angular to the latest version. The list contains three sections. Before Update, During the update, After update. All you needed to do is follow those steps. Get Update Angular Update Guide Following the Compiler Instruction:
We can get the same from another approach:
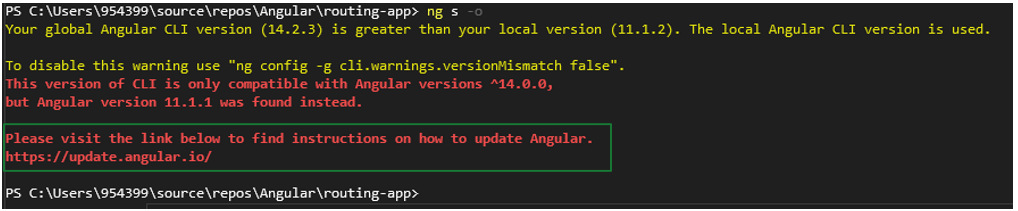
In some case, for example, when we get a project from DevOps Server or GitHub Server, or we switch the project from different branch of git, when we try to run the project, we get this error:
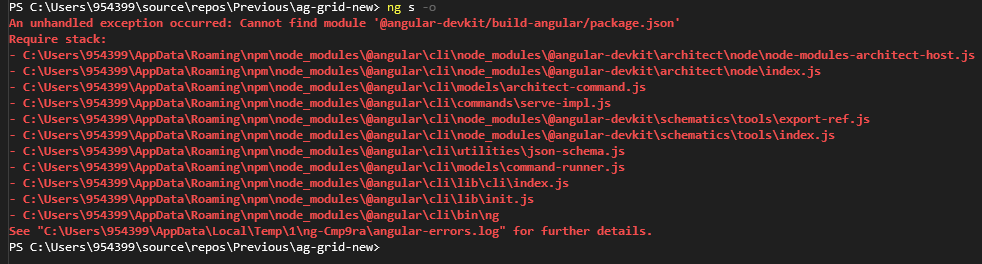
After running npm install to get the packages sometimes we got the issue resolved, sometimes, we might get a notice to update our local Angular Version:
Check the version,
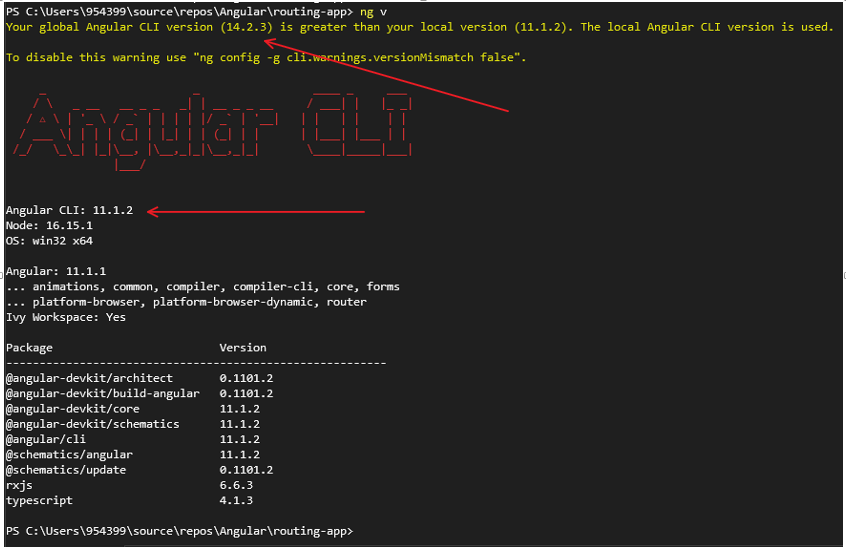
The project Angular version is 11.1.2 while the global version is 14.2.2:
Now, we need to update the Angular for this project from Version 11.1.2 to 14, we follow the instruction from Angular Notice (in green frame)
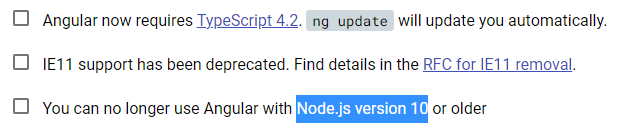
Follow the link: https://update.angular.io/, choose the correct version, here from 11 to 14:
We got these suggestions:
E - Update Angular for Project: Sample
Following the instruction, we update the Project Angular CLI step by step:
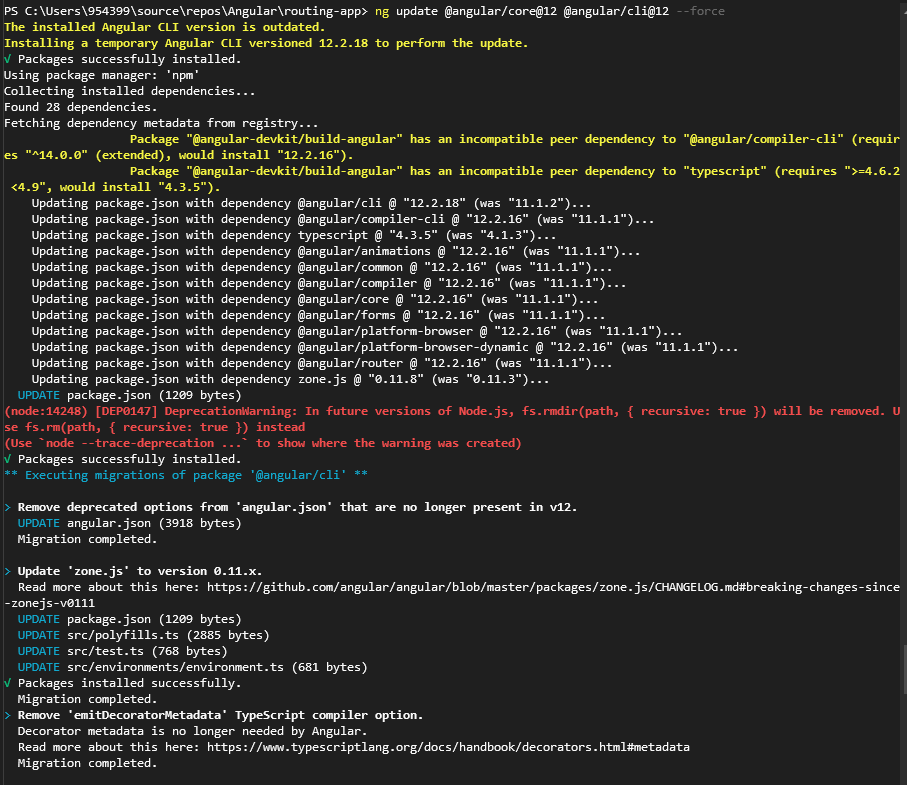
Step 1: update Angular from version 11 to 12:
Command failed.
Follow the instruction, and rerun the command with "--force":
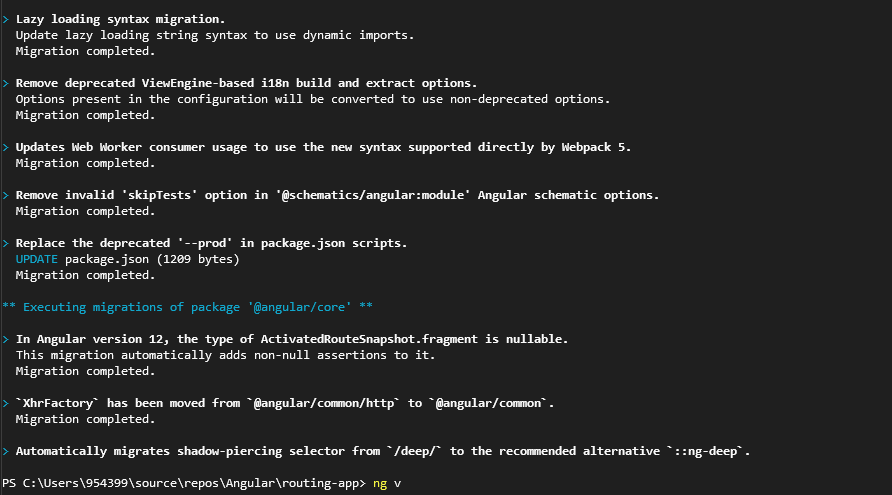
Command successes. Check the version:
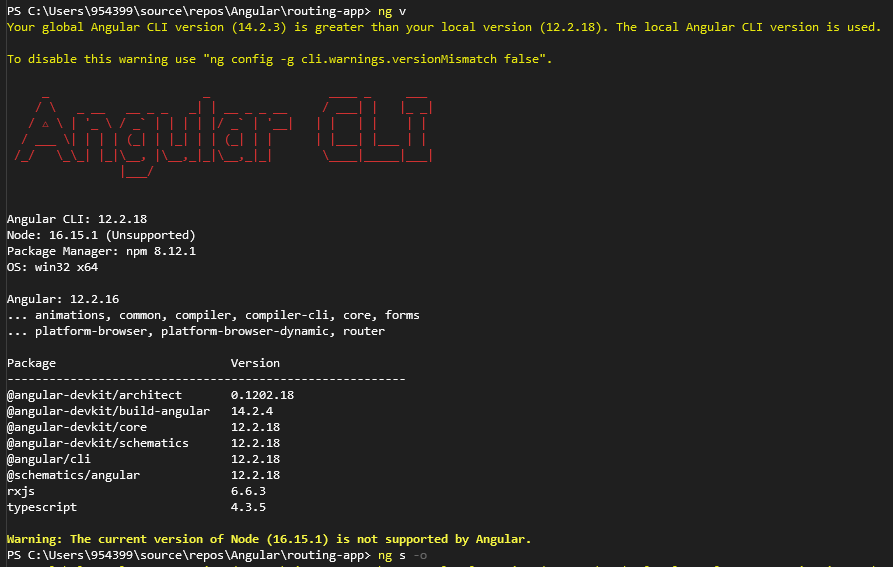
The Project Angular CLI version has been updated to V 12. Before we update it to V 13, follow the instruction, we should check if the TypeScript version and the Node.js Version are satisfied for the requirement:
Check TypeScript and Node.js versions:

They are good, then we move to the next step,
Step 2: update Angular from version 12 to 13:

We got difficulty: Repository is not clean:
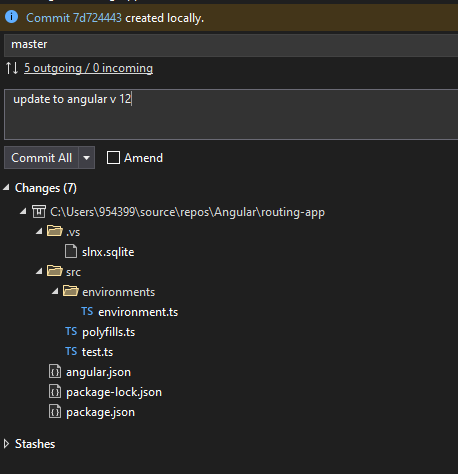
that was caused by we updated local Angular CLI version from 11 to 12,
Note
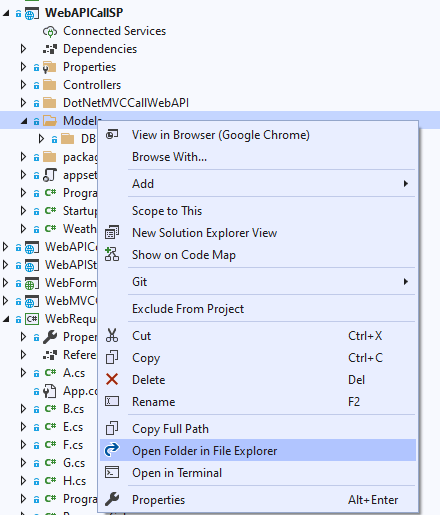
Look at the changed files inside, we can know what changes we have made,
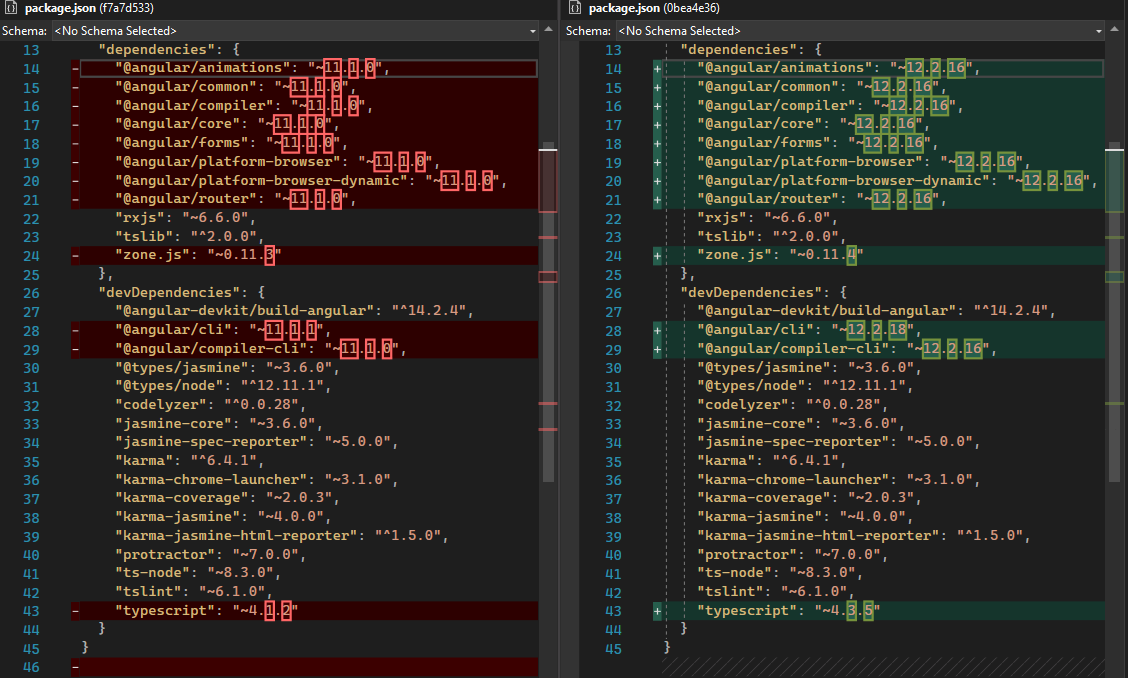
This is the update of package.json that indicates the Angular components versions from 11 updated to 12, while the TepyScript version from 4.1.2 to 4.3.5.
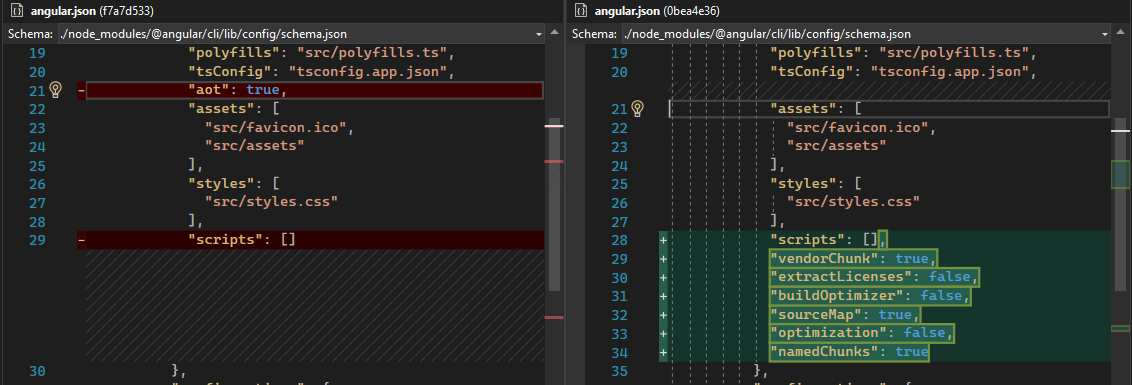
the file, angular,.json indicates, for Angular 11, aot is set as true by default, while in Angular 12, this default choice even disappeared. This indicates the fact:
AOT --- Ahead-of-time (AOT) compilation
Although it was introduced in Version 8 as a choice, such as with the command ng build --prod
By default since Version 9, set "aot": true in angular.json file;
In version 12, JIT will be deprecated associated with View Engine
Save them to git,
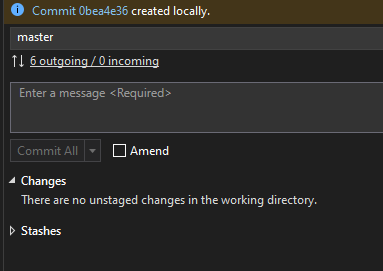
Rerun
Step 3: update Angular from version 13 to 14:
Finally, we got:
Run the project:
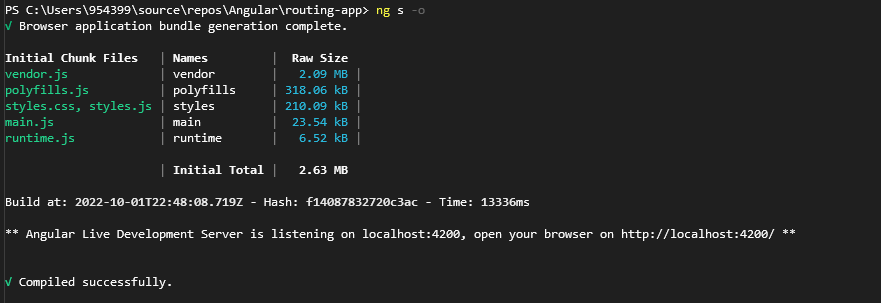
We have done the Project Angular Update process.