Managing various settings and configurations for development, staging, production, or any other environment requires the ability to configure build environments in Angular. Through the environments folder and the angular.json file, Angular offers an integrated solution for this.

To set up build environments in an Angular application, follow these steps.
Step 1: Establish the project
ng new my-angular-app
Step 2. Create Environment Files
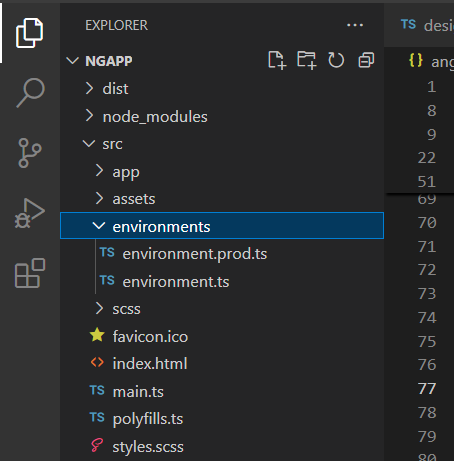
Angular typically comes with two environment files out of the box.
- src/environments/environment.ts (for development)
- src/environments/environment.prod.ts (for production)
You can create additional files for other environments (e.g., staging)
Each file exports an object with environment-specific properties.
// environment.ts (development)
export const environment = {
production: false,
apiBaseUrl: 'http://localhost:4000/api',
};
// environment.prod.ts (production)
export const environment = {
production: true,
apiBaseUrl: 'https://api.example.com',
};
// environment.staging.ts (staging)
export const environment = {
production: false,
apiBaseUrl: 'https://staging-api.example.com',
};
Step 3. Configure File Replacements
Modify the angular.json file to specify file replacements for different build configurations.
Locate the fileReplacements section under the configurations key in your Angular project.
"configurations": {
"production": {
"fileReplacements": [
{
"replace": "src/environments/environment.ts",
"with": "src/environments/environment.prod.ts"
}
]
},
"staging": {
"fileReplacements": [
{
"replace": "src/environments/environment.ts",
"with": "src/environments/environment.staging.ts"
}
]
}
}
Step 4. Add Build Scripts
Update the angular.json file to define build configurations for new environments.
"architect": {
"build": {
"configurations": {
"production": {
...
},
"staging": {
"fileReplacements": [
{
"replace": "src/environments/environment.ts",
"with": "src/environments/environment.staging.ts"
}
],
"optimization": true,
"outputHashing": "all",
"sourceMap": false,
"extractCss": true,
"namedChunks": false,
"aot": true,
"buildOptimizer": true,
"budgets": [
{
"type": "initial",
"maximumWarning": "2mb",
"maximumError": "5mb"
}
]
}
}
}
}
Step 5. Build for Specific Environments
Use the --configuration flag to build for specific environments.
ng build --configuration=staging
ng build --configuration=production
For development, the default build configuration applies unless overridden.
Step 6. Use Environment Variables in Code
In your Angular code, use the environment object to access environment-specific values.
import { environment } from '../environments/environment';
console.log('API Base URL:', environment.apiBaseUrl);
if (environment.production) {
console.log('Running in production mode');
}
Step 7. Add Additional Settings
For complex builds, you can.
- Use environment variables with tools like dotenv for dynamic replacements.
- Integrate third-party CI/CD tools to manage deployment-specific configurations.
By following these steps, you can manage multiple build environments efficiently in your Angular application. Let me know if you'd like further assistance or an example.