
May 9, 2025 10:52 by
 Peter
PeterIn this walk, you will learn the following things.
- Create an angular project.
- Install NPM Package XLSX
- Restrict the user from uploading only the XLSX file to the input tag.
- Restrict the user to select only one file at a time to upload.
- Read Excel file (XLSX)
- Get XLSX data in JSON format.

How is it implemented and how is it working in the description?
- Create Angular project - AnguDemo.
- Run the application and check project was created successfully.
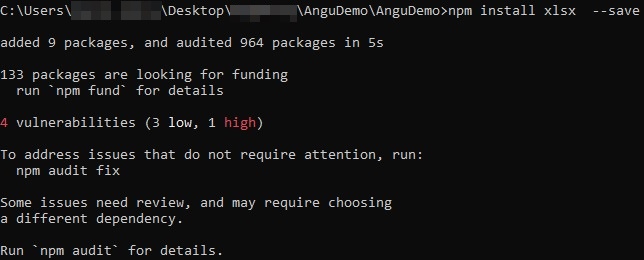
- Install NPM package called read-excel-file by command
npm install xlsx --save
- Verify package is installed or not.
- First, implement UI/Frontend side (HTML file) coding.
- Component (TS file) coding.
- Execute the Project
- Output
Create an Angular Project called “AnguDemo” using the following CLI command.
Command
ng new AnguDemo
Example

CD AnguDemo
[Go inside project folder with the complete path]
Open Visual Studio code by using the following command.
Command
code
Example

Note. Visual Studio code will get started only if your system is configured with path and settings.
Before starting coding related WebCam first have to install a WebCam library called “ngx-webcam”.
Command
npm install xlsx --save
Example
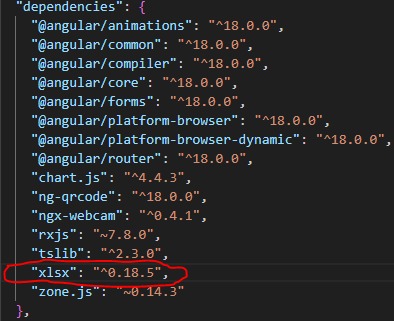
How to cross-check whether check read-excel-file package is installed or not?
Open the Package.json file which is located in the root of the project folder. Inside the dependencies section, you can check the ‘read-excel-file’ entry with the version number marked in red color.
XLSX is a package from the SheetJS community. XLSX is an open-source and freeware solution for extracting useful data and generating new spreadsheets.
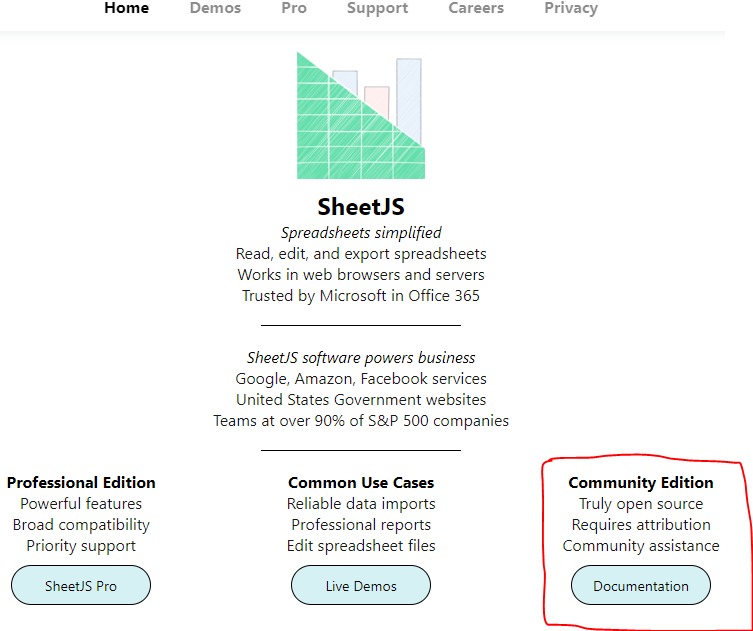
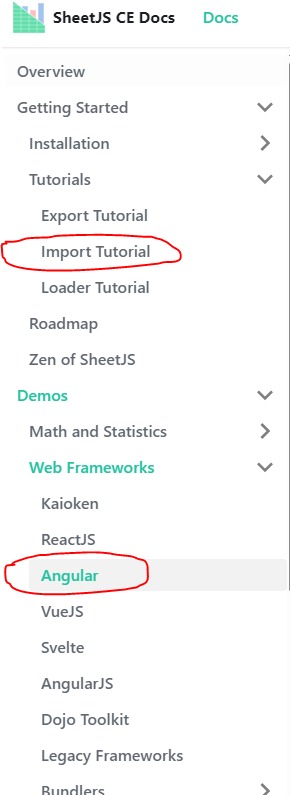
Click on Community Edition’s section Documentation button.
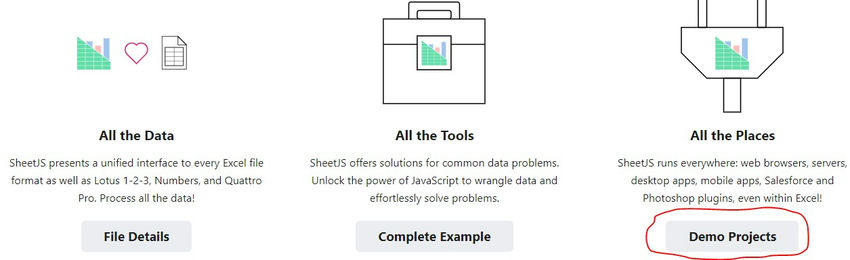
Now click on Demo Projects you will get so many tools and readymade code for XLSX files and other important topics.
Now we going to implement import Excel data.
Open the app.Component.html file and update the following code.
<p>Select XLSX File</p>
<input
type="file"
id="input"
accept="application/vnd.openxmlformats-officedocument.spreadsheetml.sheet,application/vnd.ms-excel"
(change)="onFileSubmit($event)"
multiple="false"
/>
Let's Understand the above Input type=file command.
For Excel Files 97-2003 (.xls).
application/vnd.ms-excel
For Excel Files 2007+ (.xlsx).
application/vnd.openxmlformats-officedocument.spreadsheetml.sheet
multiple="false"
Only one will be allowed at a time not multiple.
Open the app.component.ts file and update the following code.
import { Component } from '@angular/core';
import { RouterLink, RouterOutlet } from '@angular/router';
import * as XLSX from "xlsx";
@Component({
selector: 'app-root',
standalone: true,
imports: [RouterOutlet, RouterLink],
templateUrl: './app.component.html',
styleUrls: ['./app.component.css']
})
export class AppComponent {
title = 'Angular Demo';
onFileSubmit(evt: any) {
// File received
const fileReced: DataTransfer = <DataTransfer>(evt.target);
// Check how many files are received
if (fileReced.files.length > 1) {
alert('Only Single File allowed');
return;
} else {
const reader: FileReader = new FileReader();
reader.onload = (e: any) => {
const binarystring: string = e.target.result;
console.log(binarystring);
const workbook: XLSX.WorkBook = XLSX.read(binarystring, { type: 'binary' });
const worksheetname = workbook.SheetNames[0];
const worksheet: XLSX.WorkSheet = workbook.Sheets[worksheetname];
// Converting to JSON
let excelsheetdata = (XLSX.utils.sheet_to_json(worksheet, { header: 1 }));
// Print the Excel Data
console.log(excelsheetdata);
// You can use a loop to display the data on screen or process it as needed
};
reader.readAsArrayBuffer(fileReced.files[0]);
}
}
}
Now run the application by following the command.
Command
ng serve --open
Excel Data import was completed successfully.
Happy Coding!