WAV stands for "Waveform Audio File Format." It is the industry standard for storing an audio bitstream on a computer. The WAV format, created by IBM and Microsoft, is based on the Resource Interchange File Format (RIFF) and is extensively used for storing uncompressed audio data on Windows PCs. WAV files retain great quality and might be big since they contain extensive audio information.

You can utilize the native "MediaRecorder" in an Angular application to record audio from a microphone.
The Web API's "MediaRecorder" interface allows you to effortlessly record media. It is intended to record audio or video directly from the browser, making media stream capture easier.
MediaRecorder's main features and capabilities are as follows:
It is possible to record audio and video streams directly from the user's camera and microphone using Media Capture.
Stream Recording: It records media streams in segments that can be separately processed or saved.
Different Media Formats: Depending on the browser and system, it supports a variety of audio and video formats.
It provides multiple event handlers, such as ondataavailable, onstart, onstop, onerror, and others, to handle various elements of recording.
Configurable: You can customize the MediaRecorder by changing settings such as the MIME type of the recording, the bit rate, and so on.
Although "MediaRecorder" is commonly supported in recent browsers, the precise codecs and formats supported may differ between browsers. It is always a good idea to test the browser's compatibility and capabilities at runtime.
The "MediaRecorder" interface makes it easier to record audio and video in online applications, giving developers a powerful tool for capturing and working with media streams directly in the browser.
MediaRecorder takes audio in webm format by default. You must convert the recorded audio buffer to WAV format if you want a genuine WAV file rather than a webm file with a.wav extension.
Using the Angular CLI (Command Line Interface), create an Angular 16 application.
To create a new Angular application, use the command below.
Adding a New AudioRecorder
We can proceed by selecting the default Routing and Styling choices.
Make a class to convert an audio buffer to WAV format.
audio-helper.ts
export function bufferToWave(abuffer:any, len:number) {
let numOfChan = abuffer.numberOfChannels,
length = len * numOfChan * 2 + 44,
buffer = new ArrayBuffer(length),
view = new DataView(buffer),
channels = [],
i, sample,
offset = 0,
pos = 0;
// write WAVE header
setUint32(0x46464952); // "RIFF"
setUint32(length - 8); // file length - 8
setUint32(0x45564157); // "WAVE"
setUint32(0x20746d66); // "fmt " chunk
setUint32(16); // length = 16
setUint16(1); // PCM (uncompressed)
setUint16(numOfChan);
setUint32(abuffer.sampleRate);
setUint32(abuffer.sampleRate * 2 * numOfChan); // avg. bytes/sec
setUint16(numOfChan * 2); // block-align
setUint16(16); // 16-bit (hardcoded in this demo)
setUint32(0x61746164); // "data" - chunk
setUint32(length - pos - 8); // chunk length
// write interleaved data
for (i = 0; i < abuffer.numberOfChannels; i++)
channels.push(abuffer.getChannelData(i));
while (pos < length) {
for (i = 0; i < numOfChan; i++) { // interleave channels
sample = Math.max(-1, Math.min(1, channels[i][offset])); // clamp
sample = (0.5 + sample < 0 ? sample * 32768 : sample * 32767)|0; // scale to 16-bit signed int
view.setInt16(pos, sample, true); // write 16-bit sample
pos += 2;
}
offset++ // next source sample
}
// create Blob
return new Blob([buffer], { type: "audio/wav" });
function setUint16(data:any) {
view.setUint16(pos, data, true);
pos += 2;
}
function setUint32(data:any) {
view.setUint32(pos, data, true);
pos += 4;
}
}
We can create an Audio Recording service and integrate the helper function in the service.
ng g s AudioRecording
audio-recording-service.ts
import { Injectable } from '@angular/core';
import { Subject } from 'rxjs';
import { bufferToWave } from './audio-helper';
@Injectable({
providedIn: 'root'
})
export class AudioRecordingService {
private chunks: any[] = [];
private mediaRecorder: any;
private audioContext: AudioContext = new AudioContext();
private audioBlobSubject = new Subject<Blob>();
audioBlob$ = this.audioBlobSubject.asObservable();
async startRecording() {
if (this.audioContext.state === 'suspended') {
await this.audioContext.resume();
}
const stream = await navigator.mediaDevices.getUserMedia({ audio: true });
this.mediaRecorder = new MediaRecorder(stream);
this.mediaRecorder.ondataavailable = (event: any) => this.chunks.push(event.data);
this.mediaRecorder.start();
}
async stopRecording() {
if (this.mediaRecorder) {
this.mediaRecorder.onstop = async () => {
const audioData = await new Blob(this.chunks).arrayBuffer();
const audioBuffer = await this.audioContext.decodeAudioData(audioData);
const wavBlob = bufferToWave(audioBuffer, audioBuffer.length);
this.audioBlobSubject.next(wavBlob);
this.chunks = [];
};
this.mediaRecorder.stop();
}
}
}
Update the component html file with code below.
app.component.html
<div class="content" role="main">
<div class="row justify-content-center pt-2 pb-2">
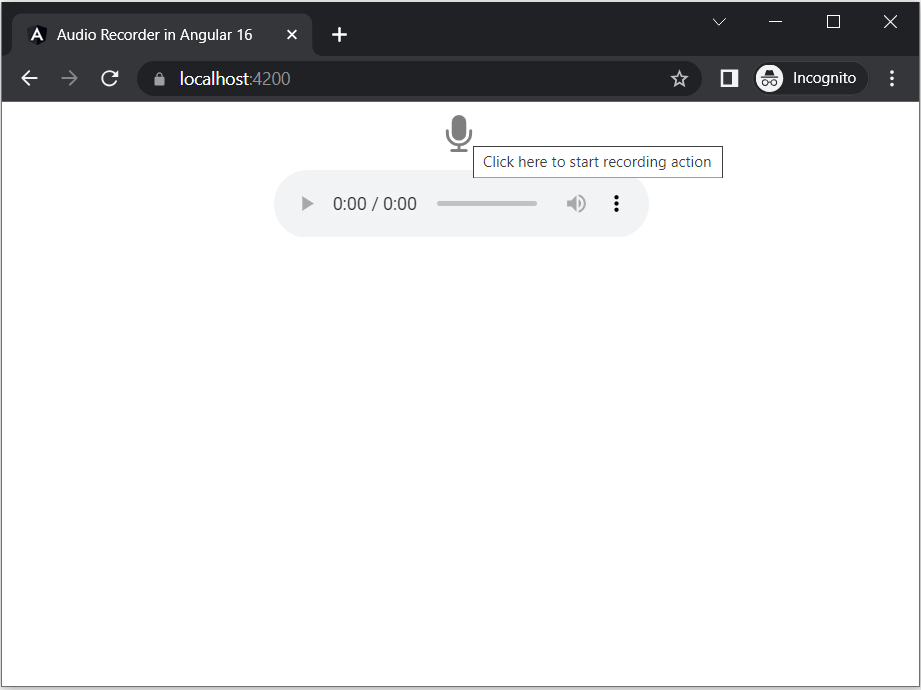
<button title="Click here to start recording action" class="btn-mic w-auto" (click)="startRecording()"
*ngIf="!isRecording" style="margin-right: 3px;">
<img src="../../assets/mic.png" />
</button>
<button title="Click here to stop recording" class="btn-stop w-auto" (click)="stopRecording()" *ngIf="isRecording"
style="margin-right: 3px;">
<img src="../../assets/stop.png" />
</button>
</div>
<audio #audioPlayer controls style="margin: 10px;"></audio>
<a *ngIf="audioURL" [href]="audioURL" download="recorded_audio.wav">Download last reecorded Audio</a>
</div>
Update the component class file with code below.
app.component.ts
import { ChangeDetectorRef, Component, ElementRef, OnInit, ViewChild } from '@angular/core';
import { AudioRecordingService } from './audio-recording.service';
@Component({
selector: 'app-root',
templateUrl: './app.component.html',
styleUrls: ['./app.component.css']
})
export class AppComponent implements OnInit {
isRecording = false;
audioURL: string | null = null;
@ViewChild('audioPlayer') audioPlayer!: ElementRef<HTMLAudioElement>;
constructor(private audioRecordingService: AudioRecordingService, private cd: ChangeDetectorRef) { }
ngOnInit() {
this.audioRecordingService.audioBlob$.subscribe(blob => {
this.audioURL = window.URL.createObjectURL(blob);
this.audioPlayer.nativeElement.src = this.audioURL;
this.cd.detectChanges();
});
}
startRecording() {
this.isRecording = true;
this.audioRecordingService.startRecording();
}
stopRecording() {
this.isRecording = false;
this.audioRecordingService.stopRecording();
}
}
Update the component stylesheet with code below.
app.component.css
:host {
font-family: -apple-system, BlinkMacSystemFont, "Segoe UI", Roboto, Helvetica, Arial, sans-serif, "Apple Color Emoji", "Segoe UI Emoji", "Segoe UI Symbol";
font-size: 14px;
color: #333;
box-sizing: border-box;
-webkit-font-smoothing: antialiased;
-moz-osx-font-smoothing: grayscale;
}
h1,
h2,
h3,
h4,
h5,
h6 {
margin: 8px 0;
}
p {
margin: 0;
}
.spacer {
flex: 1;
}
.toolbar {
position: absolute;
top: 0;
left: 0;
right: 0;
height: 60px;
display: flex;
align-items: center;
background-color: #1976d2;
color: white;
font-weight: 600;
}
.toolbar img {
margin: 0 16px;
}
.toolbar #twitter-logo {
height: 40px;
margin: 0 8px;
}
.toolbar #youtube-logo {
height: 40px;
margin: 0 16px;
}
.toolbar #twitter-logo:hover,
.toolbar #youtube-logo:hover {
opacity: 0.8;
}
.content {
display: flex;
margin: 10px auto 10px;
padding: 0 16px;
max-width: 960px;
flex-direction: column;
align-items: center;
}
svg.material-icons {
height: 24px;
width: auto;
}
svg.material-icons:not(:last-child) {
margin-right: 8px;
}
.card svg.material-icons path {
fill: #888;
}
.card-container {
display: flex;
flex-wrap: wrap;
justify-content: center;
margin-top: 16px;
}
.card {
all: unset;
border-radius: 4px;
border: 1px solid #eee;
background-color: #fafafa;
height: 40px;
width: 200px;
margin: 0 8px 16px;
padding: 16px;
display: flex;
flex-direction: row;
justify-content: center;
align-items: center;
transition: all 0.2s ease-in-out;
line-height: 24px;
}
.card-container .card:not(:last-child) {
margin-right: 0;
}
.card.card-small {
height: 16px;
width: 168px;
}
.card-container .card:not(.highlight-card) {
cursor: pointer;
}
.card-container .card:not(.highlight-card):hover {
transform: translateY(-3px);
box-shadow: 0 4px 17px rgba(0, 0, 0, 0.35);
}
.card-container .card:not(.highlight-card):hover .material-icons path {
fill: rgb(105, 103, 103);
}
.card.highlight-card {
background-color: #1976d2;
color: white;
font-weight: 600;
border: none;
width: auto;
min-width: 30%;
position: relative;
}
.card.card.highlight-card span {
margin-left: 60px;
}
svg#rocket {
width: 80px;
position: absolute;
left: -10px;
top: -24px;
}
svg#rocket-smoke {
height: calc(100vh - 95px);
position: absolute;
top: 10px;
right: 180px;
z-index: -10;
}
a,
a:visited,
a:hover {
color: #1976d2;
text-decoration: none;
}
a:hover {
color: #125699;
}
.terminal {
position: relative;
width: 80%;
max-width: 600px;
border-radius: 6px;
padding-top: 45px;
margin-top: 8px;
overflow: hidden;
background-color: rgb(15, 15, 16);
}
.terminal::before {
content: "\2022 \2022 \2022";
position: absolute;
top: 0;
left: 0;
height: 4px;
background: rgb(58, 58, 58);
color: #c2c3c4;
width: 100%;
font-size: 2rem;
line-height: 0;
padding: 14px 0;
text-indent: 4px;
}
.terminal pre {
font-family: SFMono-Regular, Consolas, Liberation Mono, Menlo, monospace;
color: white;
padding: 0 1rem 1rem;
margin: 0;
}
.circle-link {
height: 40px;
width: 40px;
border-radius: 40px;
margin: 8px;
background-color: white;
border: 1px solid #eeeeee;
display: flex;
justify-content: center;
align-items: center;
cursor: pointer;
box-shadow: 0 1px 3px rgba(0, 0, 0, 0.12), 0 1px 2px rgba(0, 0, 0, 0.24);
transition: 1s ease-out;
}
.circle-link:hover {
transform: translateY(-0.25rem);
box-shadow: 0px 3px 15px rgba(0, 0, 0, 0.2);
}
footer {
margin-top: 8px;
display: flex;
align-items: center;
line-height: 20px;
}
footer a {
display: flex;
align-items: center;
}
.github-star-badge {
color: #24292e;
display: flex;
align-items: center;
font-size: 12px;
padding: 3px 10px;
border: 1px solid rgba(27, 31, 35, .2);
border-radius: 3px;
background-image: linear-gradient(-180deg, #fafbfc, #eff3f6 90%);
margin-left: 4px;
font-weight: 600;
}
.github-star-badge:hover {
background-image: linear-gradient(-180deg, #f0f3f6, #e6ebf1 90%);
border-color: rgba(27, 31, 35, .35);
background-position: -.5em;
}
.github-star-badge .material-icons {
height: 16px;
width: 16px;
margin-right: 4px;
}
svg#clouds {
position: fixed;
bottom: -160px;
left: -230px;
z-index: -10;
width: 1920px;
}
.btn-mic,
.btn-stop {
cursor: pointer;
background: none;
border: none;
padding: 0;
}
.btn-mic img,
.btn-stop img {
width: 30px;
opacity: 0.5;
}
/* Responsive Styles */
@media screen and (max-width: 767px) {
.card-container>*:not(.circle-link),
.terminal {
width: 100%;
}
.card:not(.highlight-card) {
height: 16px;
margin: 8px 0;
}
.card.highlight-card span {
margin-left: 72px;
}
svg#rocket-smoke {
right: 120px;
transform: rotate(-5deg);
}
}
@media screen and (max-width: 575px) {
svg#rocket-smoke {
display: none;
visibility: hidden;
}
}
We can run the application with SSL enabled.
ng serve --ssl
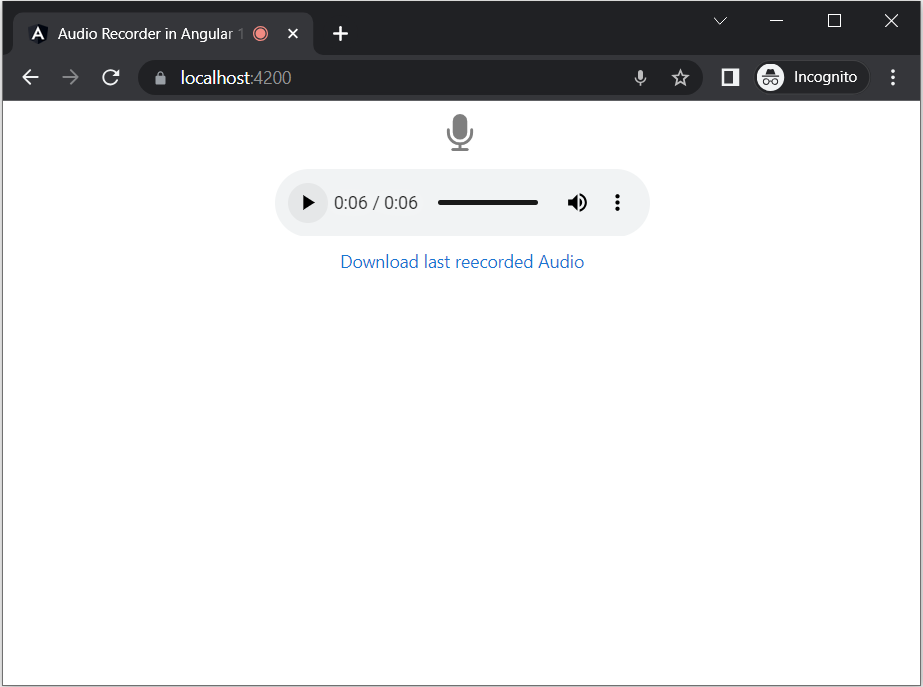
Open your browser and navigate to https://localhost:4200/. You should be able to start and stop recording, and then download the recorded audio file.
Always keep in mind that accessing microphone requires user permissions. Make sure we test this functionality in a secure context (like https:// or localhost) to ensure that the browser does not block access to the microphone due to security constraints.
The recording will begin after you press the start button, and the stop button will replace the start button. After you click the stop button, an audio preview will appear, and you can click the download button to get the converted audio in WAV format.