
November 22, 2022 09:21 by
 Peter
PeterThis would be a series of articles and in this article, we would talk about NestJS, its background, installation, and how it can be used to build APIs.

It will cover the following things,
What is NestJS?
Background
Installation
Hands-on Lab – Create a sample NestJS project
What is NestJS?
NestJS is fairly a popular and cumulative JavaScript framework functioning under the hood of Node.js
It is used to build scalable, reliable, and efficient server-side applications.
The framework is directed with the Node.js environment and supports Typescript fully.
It also can be scaled to make use of Express.js under the influence of Node.js
NestJS is a full Typescript-supported framework, it can enable developers like you to code purely in JavaScript
Also, it would let you combine the concepts of Object-Oriented Programming(OOP), Functional Reactive Programming(FRP), and purely Functional Programming(FP).
Background
NestJS makes use of heavy usage of the server-side framework like Express under the hood of robust HTTP infrastructure.
It can also be optionally configured to make use of Fastify as well although Express is considered as default.
NestJS aims to provide a certain level of abstraction mechanism to the developers so that not only the common server-side frameworks like Fastify or Express are integrated internally but can also be exposed to the APIs chosen by the developer.
These hidden bars provide developers to gain the freedom to use the third-party modules brightly and they can be made to motivate in the NestJS platform without having to operate the entire server side.
Installation
All you need to do is to make sure you have Nest CLI is primarily installed on your local computer.
If it is not installed, make use of the Node Package Manager (NPM) and follow up the approach using the commands given below.
Also, you would need to make sure Node.js and NPM are preinstalled in your local system. If not, just follow the instructions to install Node.js at https://nodejs.org/
$ npm i –g @nestjs/cli
Hands-on Lab – Create a sample NestJS project
Steps to be followed,
Once the NestJS CLI installation is marked complete, it will readily be available to use the commands.
Now let’s proceed with creating a sample project, and use the following control to initialize it.
nest new nestjs-demo
cd nestjs-demo
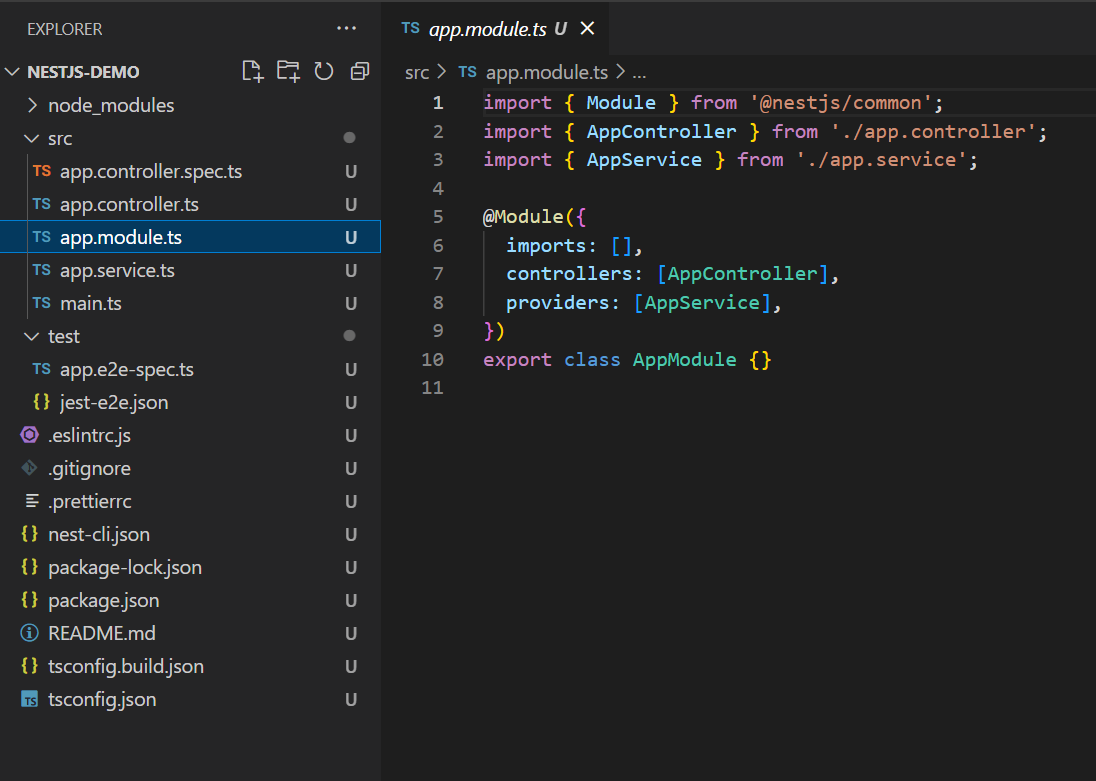
Open Visual Code and see the project structure with the following files -
main.ts - It is the application's entry point which consists of a method NestFactory.create() which creates a new instance of the Nest application.
app.modules.ts: It contains the module of the application's implementation.
app.controller.ts: It consists of only one routed implementation controller of NestJS.
app.services.ts: It is the usual service method implementation.
app.controller.specs.ts: It tests the file for the controller.
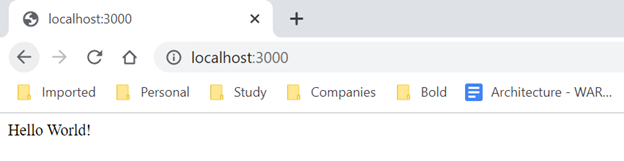
Run the application by executing the below command and look at the browser with the output.
In this article, we talked about the overview and basic implementation of NestJS, in the next article, we would talk about all the out-of-the-box files in detail and create a few custom APIs. Stay tuned for the next series of articles, hope you see you guys again soon.
Happy learning!