
November 3, 2021 07:27 by
 Peter
PeterWe have to add some more codes to make NgRx work.

So, the next step is to add the action.
Create a typescript file ‘user-list.action.ts ’ inside the Store folder
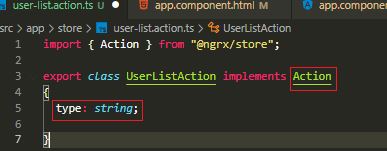
In this new file, we will define our action class.
Here, we need to send the action type and payload (user's name in our case) to the reducer.
But the angular Action interface doesn’t have the payload property. It has the type property only.
Since we need to pass a payload to the reducer, we will create a new class ‘UserListAction’ by implementing the Action interface. Action interface has only one property ‘type‘ so, we should implement it in our class.
Please refer to the screenshot below.
To minimize typo errors, it is better to avoid hard-coded strings in our codes. So, I just created a constant for the action type and used the export keyword to make it reusable in the reducer file.
Please refer to the code changes below.
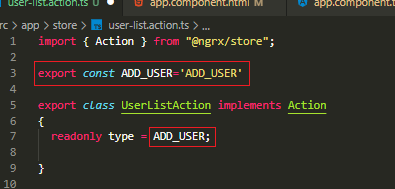
I have changed the type property to read-only. This will ensure that its value never changes from outside.
Next, we should add another property ‘payload’ to pass the user name to the reducer function.
Please refer to the screenshot below.
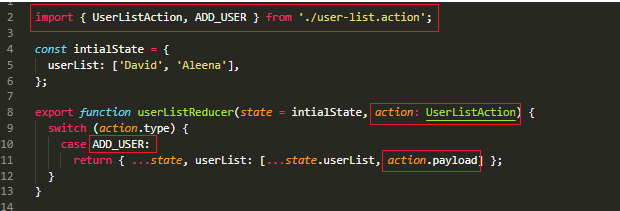
Here, we imported the UserListAction class and ADD_USER constant from the user-list.action.ts file. And, we used the value of the payload property of UserListAction class to generate the new state. Done!
We have successfully added the action to our application.