April 27, 2021 07:41 by
 Peter
PeterIn many technical blogs, we use code snippets to share code with readers and explain the implementation. In a previous article, we have seen how to create a blogging site with Angular and Scully. If you are creating a technical blogging site you might also need to add code snippets to your blog. So In this article, we will see how to add a code block with syntax highlighting feature.

Adding Code Block in Markdown file
In the markdown file, we can add a code block with the following syntax,
```
--- CODE BLOCK ---
```
Optionally you can also set the language as
```language
--- CODE BLOCK ---
```
language can be javascript, bash, etc.
For Example,
Add the following sample code block in getting-started-with-scully.md file
```javascript
import { ScullyConfig } from '@scullyio/scully';
export const config: ScullyConfig = {
projectRoot: "./src",
projectName: "portfolio",
outDir: './dist/static',
routes: {
'/blog/:slug': {
type: 'contentFolder',
slug: {
folder: "./blog"
}
},
}
};
```
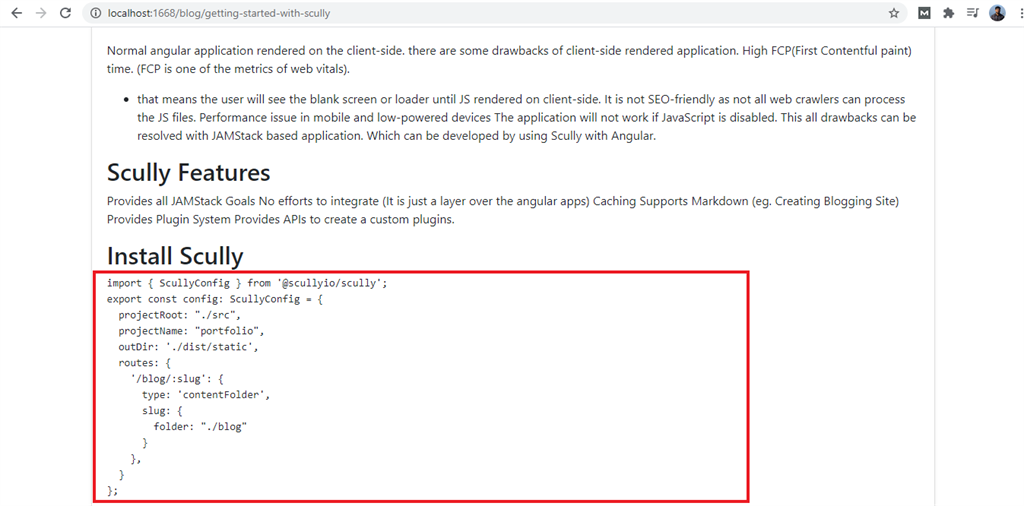
Now take a Scully build and serve the Scully static server with npm run scully && npm run scully:serve

As you can see it generates the code block with preformatted code, but it doesn't have any syntax highlighting.
Adding Syntax Highlighting Feature
Scully has a markdown plugin, which transforms markdown files to HTML files at the time of Scully build. This plugin provides an option to enable syntax highlighting at the time of Scully build.
As you can see below, We will use the setPluginConfig function to configure plugins. set enableSyntaxHighlighting to true in the markdown plugin to enable syntax highlighting.
// scully.[projectName].config.ts
import { ScullyConfig, setPluginConfig } from '@scullyio/scully';
setPluginConfig('md', { enableSyntaxHighlighting : true});
export const config: ScullyConfig = {
projectRoot: "./src",
projectName: "portfolio",
outDir: './dist/static',
routes: {
'/blog/:slug': {
type: 'contentFolder',
slug: {
folder: "./blog"
}
},
}
};
Scully internally uses Prism.js for code block syntax highlighting. We need to import its styles in our styles.css file as below
/* include CSS for prism toolbar */
@import '~prismjs/plugins/toolbar/prism-toolbar.css';
/* check node_modules/prismjs/themes/ for the available themes */
@import '~prismjs/themes/prism-tomorrow';
Great !!! We are done with the implementation, Now take and build and test it.
Final Output
Take a new build of the angular app, as we have made changes in styles.css, then take a Scully build and start the static server using the following commands
ng build --prod
npm run scully
npm run scully:serve
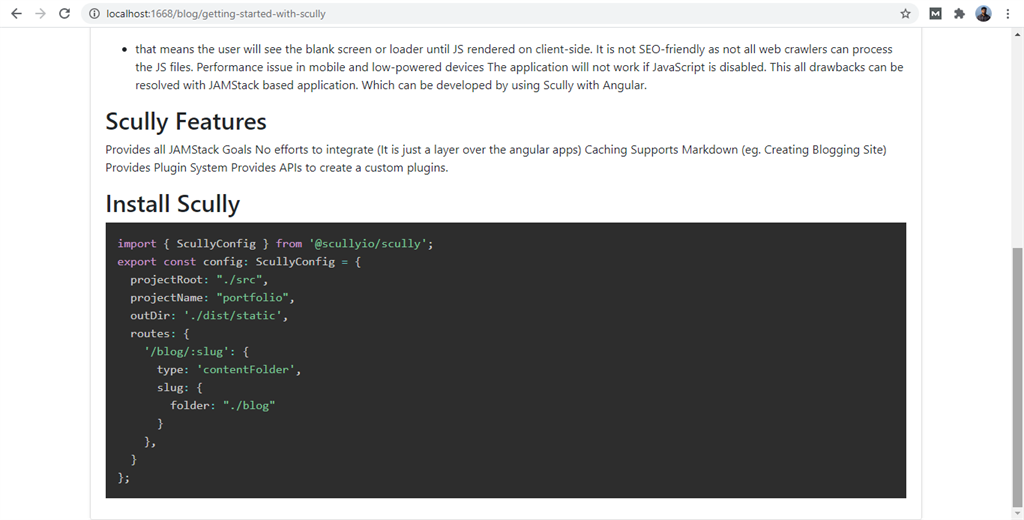
Now check the blog in which you have added code snippets / code blocks :
