
January 4, 2022 08:20 by
 Peter
PeterVisual Studio Code is a lightweight but powerful source code editor which runs on your desktop and is available for Windows, macOS and Linux. It comes with built-in support for JavaScript, TypeScript and Node.js and has a rich ecosystem of extensions for other languages (such as C++, C#, Java, Python, PHP, Go) and runtimes (such as .NET and Unity).
In this article, will see how to install Visual Studio Code on your PC.
Follow the below steps for the same.
Step 1
Click here to navigate to Visual Studio Code official website.
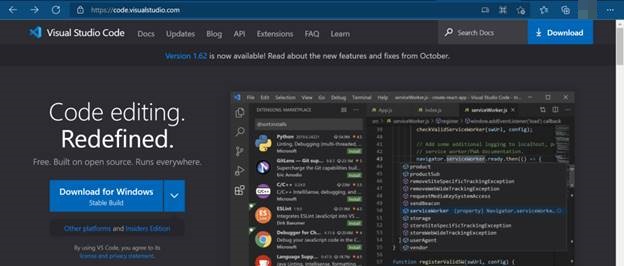
Step 2
Click on Download for Windows.

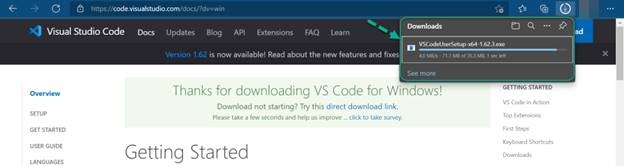
Step 3
VSCodeUserSetup-x64-1.62.3.exe will be downloaded to your Downloads folder.
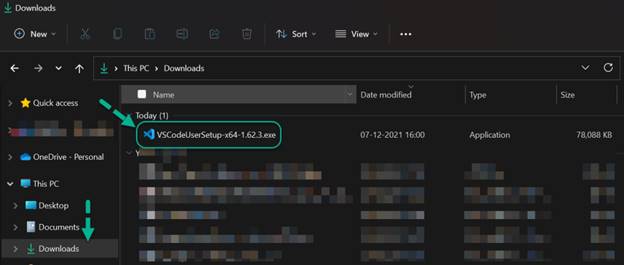
Step 4
Go to the Downloads folder and double click on the executable file.
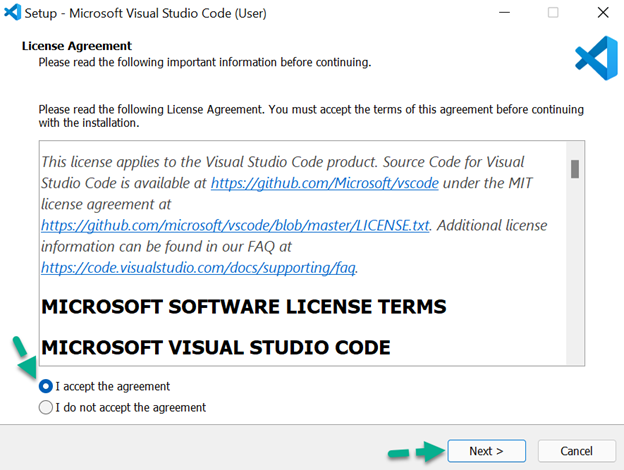
Step 5
Click on I accept the agreement and Click on Next.
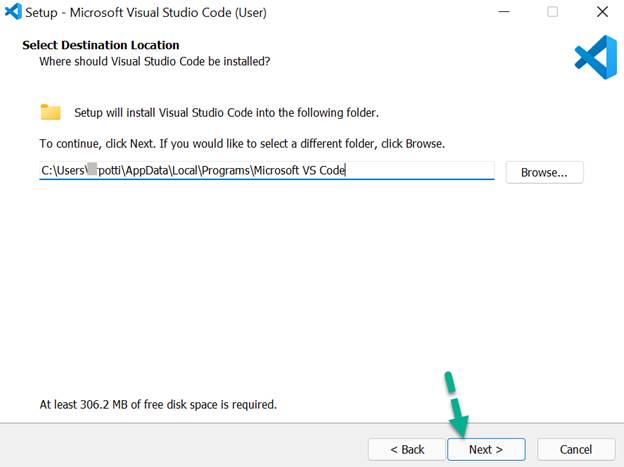
Step 6
Click on Next.
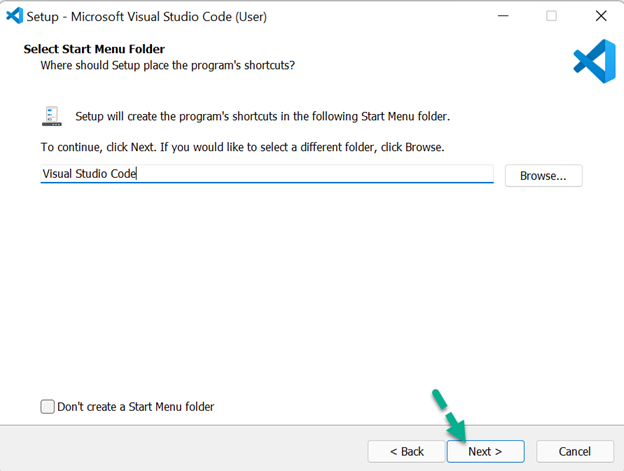
Step 7
Click on Next.
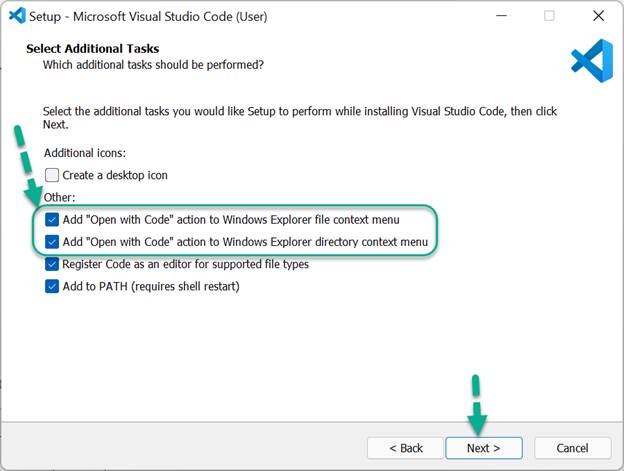
Step 8
Select Add “Open with Code” action to Windows Explorer file context menu and Add “Open with Code” action to Windows Explorer directory context menu, checkboxes.
Click on Next.
Step 9
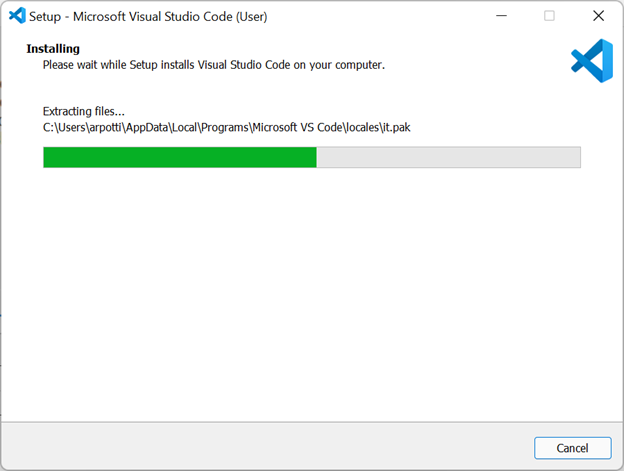
Click on Install.
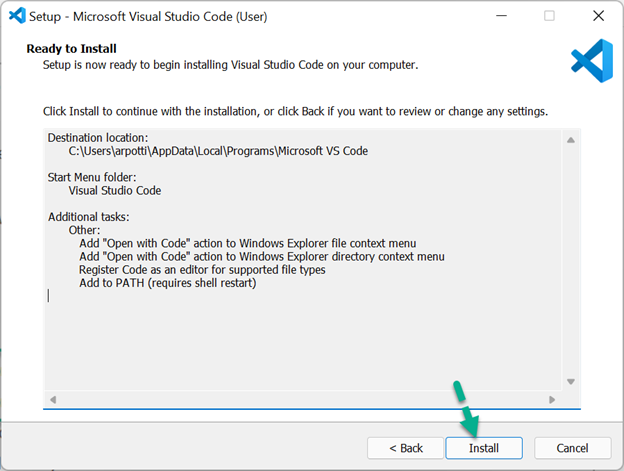
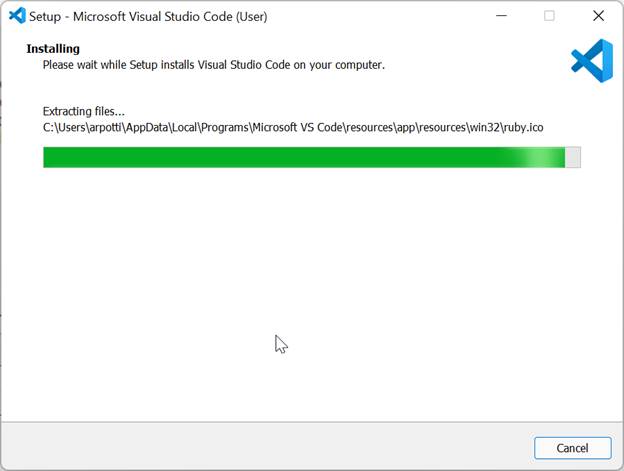
Installation is in progress.
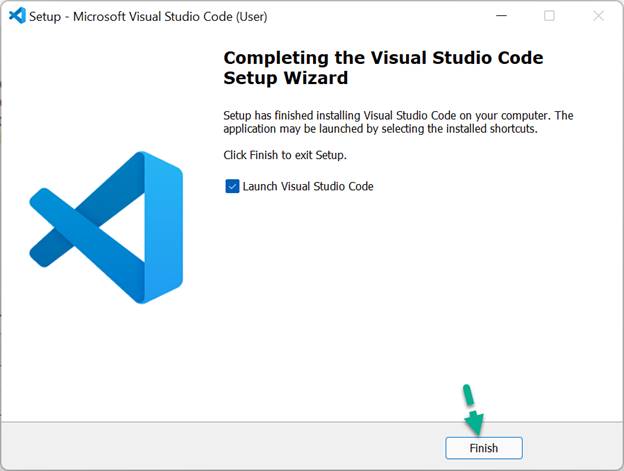
Step 10
Click on Finish to launch the Visual Studio Code.
Step 10
Click on Finish to launch the Visual Studio Code.
Visual Studio Code is launched.
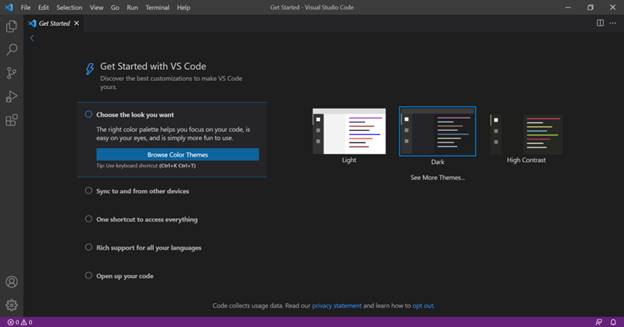
Hope you have successfully installed Visual Studio Code on your PC.
Please like and share your valuable feedback on this article.